Okra (Lady Finger) Grow Guide (From Seed to Harvest)
Grow healthy okra plants with better yield using this step-by-step guide: soil preparation, seed sowing, spacing, sunlight, watering, fertilization, pruning, pest control, flowering, and harvesting.
Soil Preparation
Okra grows best in loose, well-draining soil enriched with compost for steady, healthy pod production.
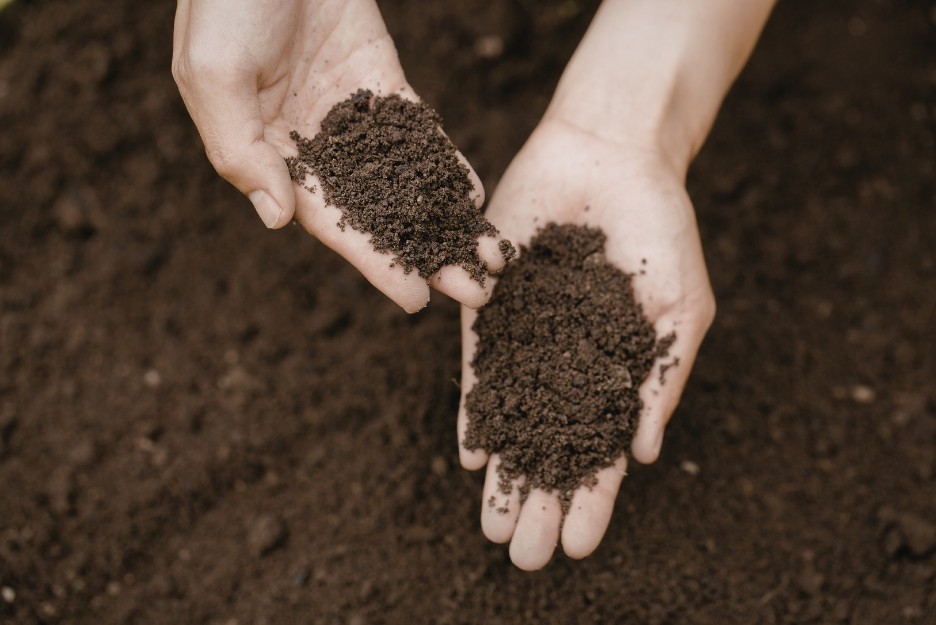
Recommended Soil Mix
- Base: garden soil + coco peat or sand for airflow
- Nutrition: compost or vermicompost for steady feeding
- Drainage: ensure pots have holes to prevent waterlogging
Seed Sowing Guide
Okra grows best with direct sowing. Soaking seeds helps faster germination in many climates.
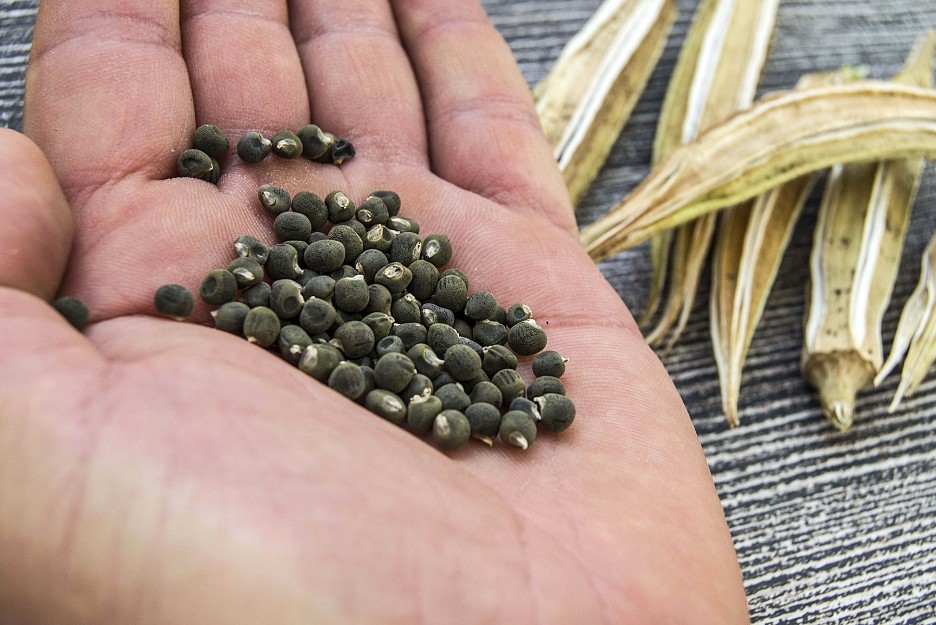
Step-by-Step
- Optional: Soak seeds 6–12 hours for faster sprouting.
- Sow seeds 2–3 cm deep in moist soil.
- Keep soil evenly moist until seedlings appear.
- Germination typically takes 3–10 days.
Spacing & Thinning
Correct spacing improves airflow, reduces pest pressure, and supports bigger plants with more pods.
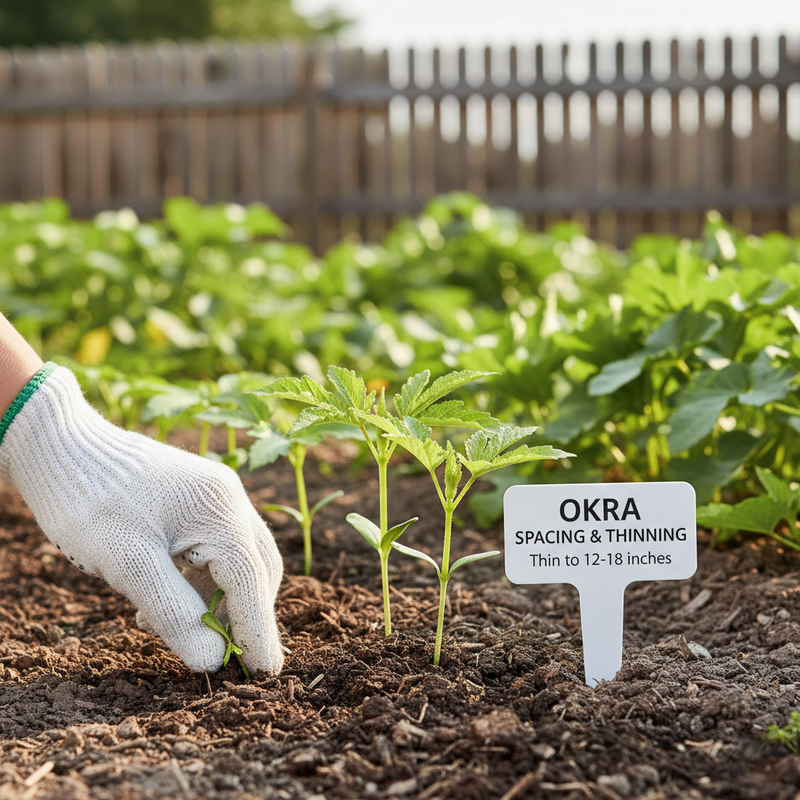
- Garden: 30–45 cm between plants
- Rows (optional): 45–60 cm between rows
- Pots: 1 plant per 12–16 inch pot
Sunlight Requirements
Okra needs full sun to produce plenty of flowers and tender pods.
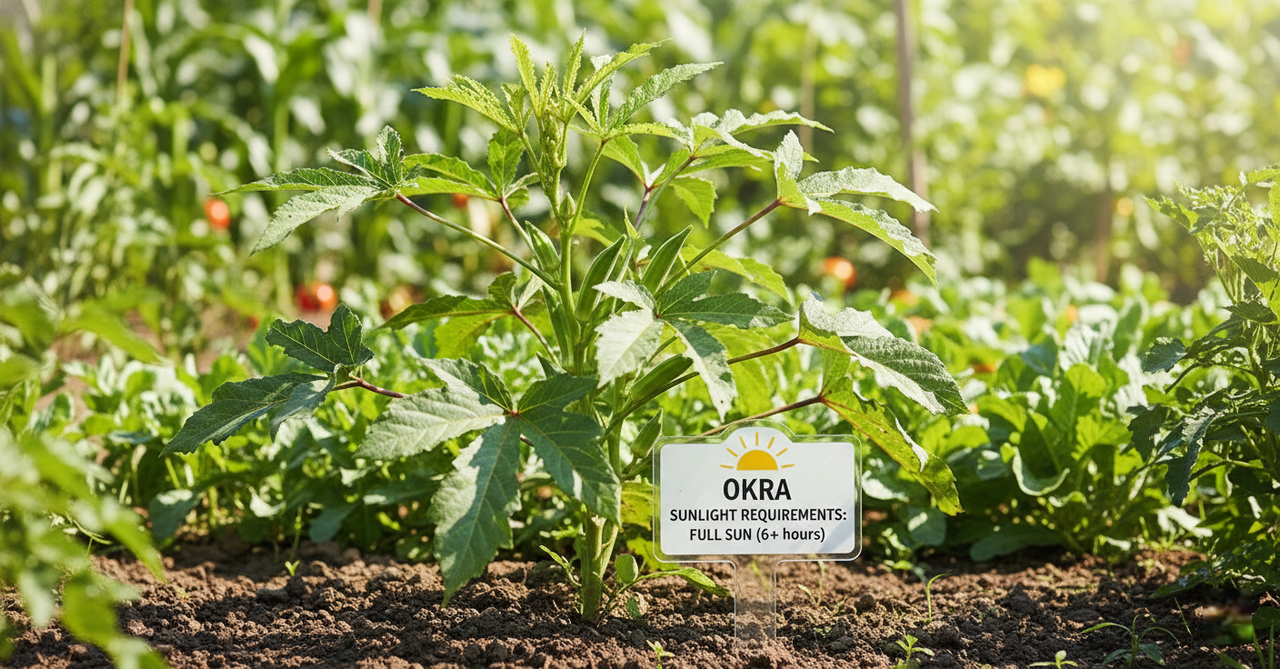
- Ideal: 6–8 hours of direct sunlight daily
- Low sun: fewer flowers and fewer pods
- Best spot: open, sunny area with good airflow
Watering Schedule
Okra is drought-tolerant once established, but consistent watering improves pod quality and yield.
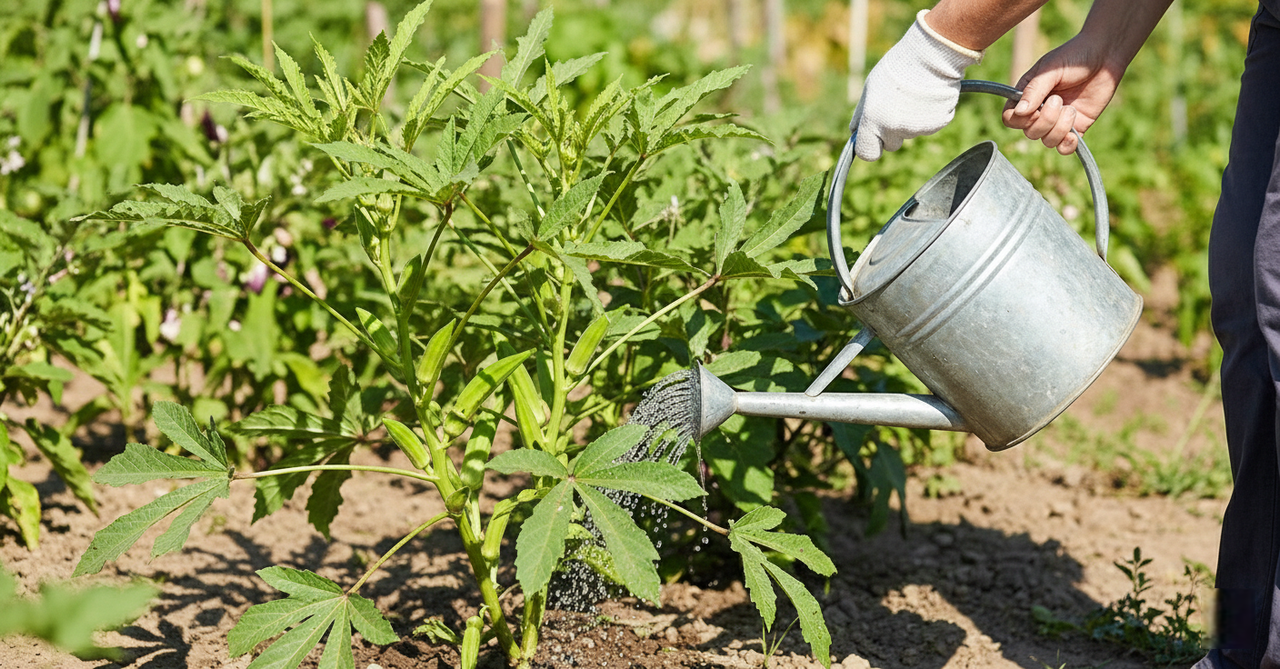
Best Routine
- Water when top 2–3 cm soil feels dry.
- Water deeply to support strong roots.
- Avoid waterlogging to protect roots.
Overwatering Signs
- Yellow leaves
- Slow growth
- Soft stem near soil line
Fertilization Plan
Light, regular feeding helps okra produce pods continuously without making the plant overly leafy.
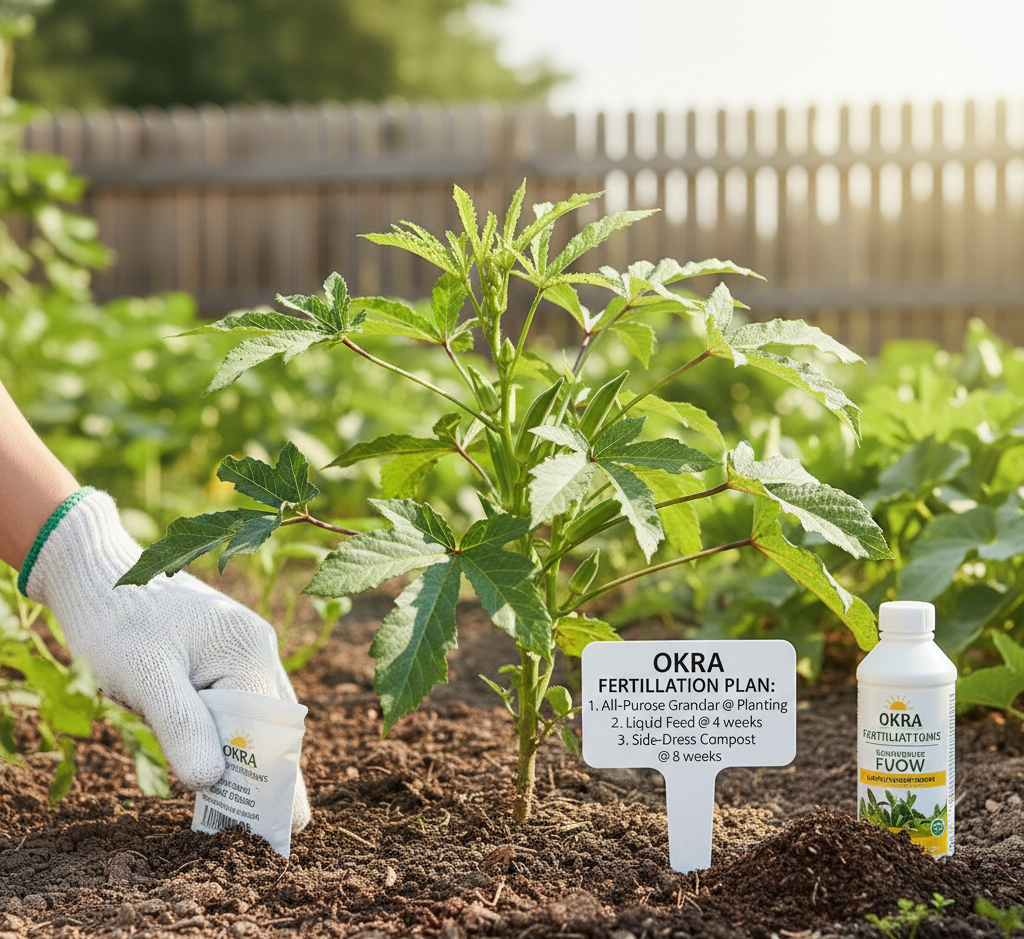
- Add compost/vermicompost every 15–20 days.
- Optional organic liquid feed every 2 weeks.
- During pod stage, add potassium support for better production.
Pruning & Support
Okra needs minimal pruning. Basic cleanup improves airflow and reduces disease risk.
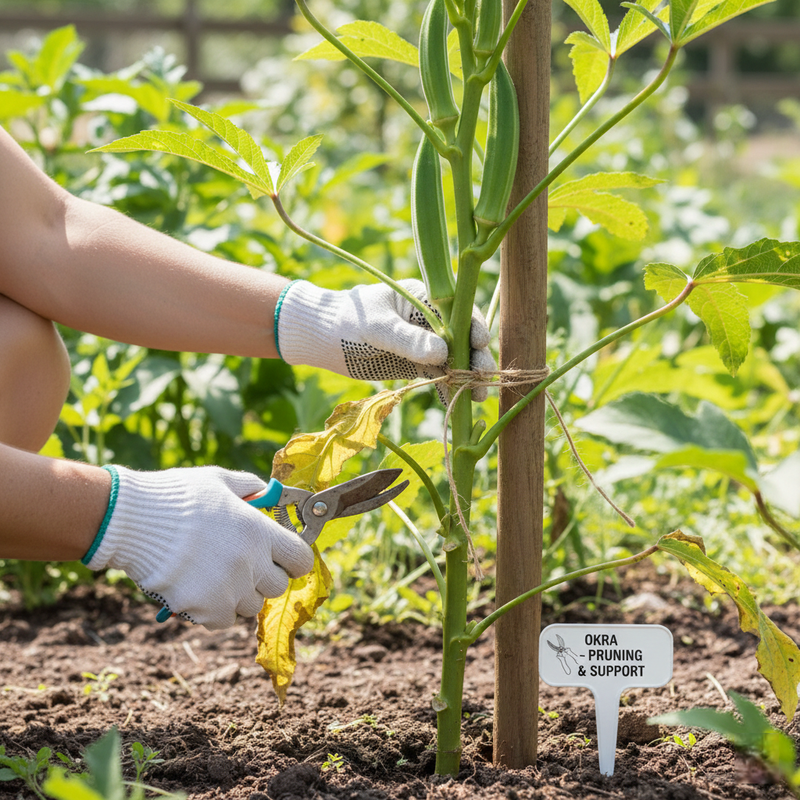
Simple Pruning Tips
- Remove yellow or damaged lower leaves.
- Remove leaves touching the soil to prevent fungus.
- Keep plant airy for better airflow.
Support
- Tall varieties may need a stake in windy areas.
- Use soft ties and don’t tighten around the stem.
Pest & Disease Control
Weekly monitoring and early treatment protect leaves and keep pod production strong.
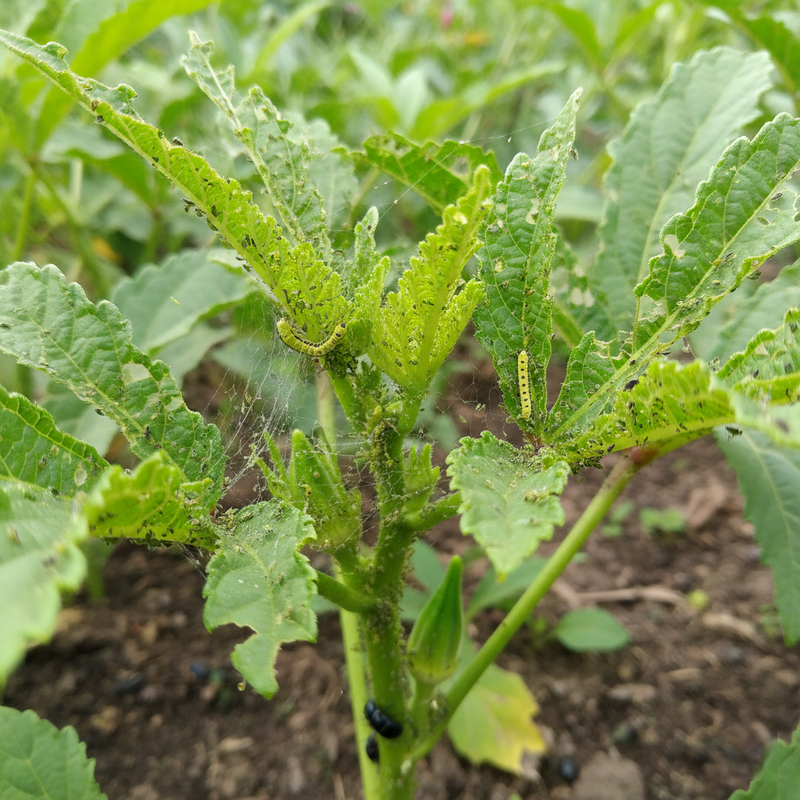
Common Okra Pests
- Aphids
- Whiteflies
- Jassids (leafhoppers)
- Spider mites
- Caterpillars
Organic & Safe Treatments
- Neem oil spray: weekly (spray underside of leaves)
- Mild soap water: helpful for aphids/whiteflies
- Remove infected leaves: dispose away from the garden
- Airflow: spacing + cleanup reduces fungal problems
Flowering & Pod Formation
Okra flowers appear quickly, and pods form soon after. Regular harvesting increases new pod production.
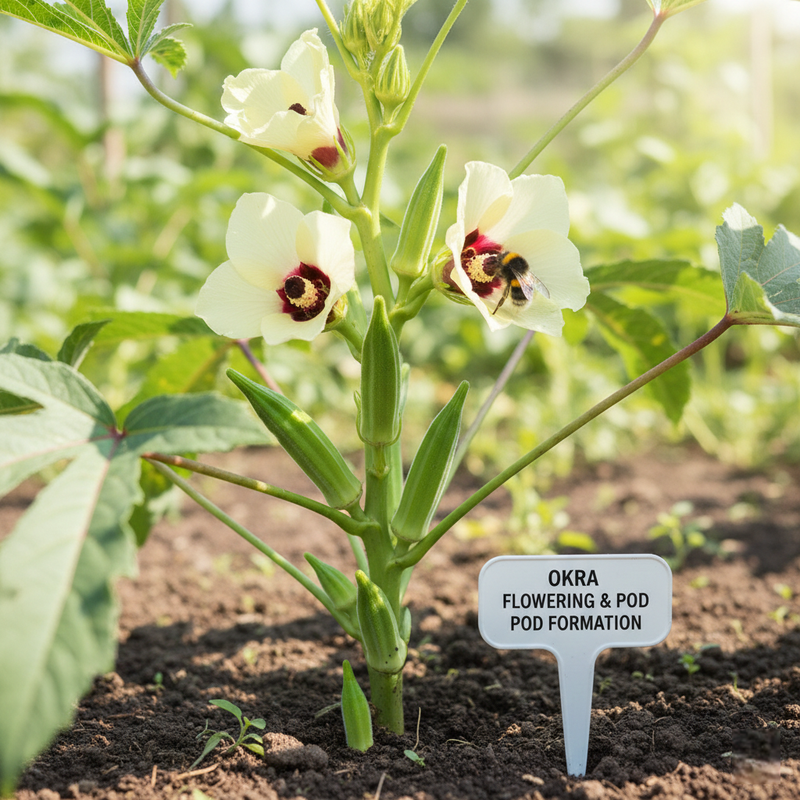
- Flowers often appear 30–45 days after sowing.
- Pods form within a few days after flowering.
- Good sunlight and balanced feeding improve pod set.
- Regular harvesting encourages more flowers and pods.
Harvesting Okra
Harvesting on time is the key to tender okra. Overgrown pods become hard and reduce overall yield.
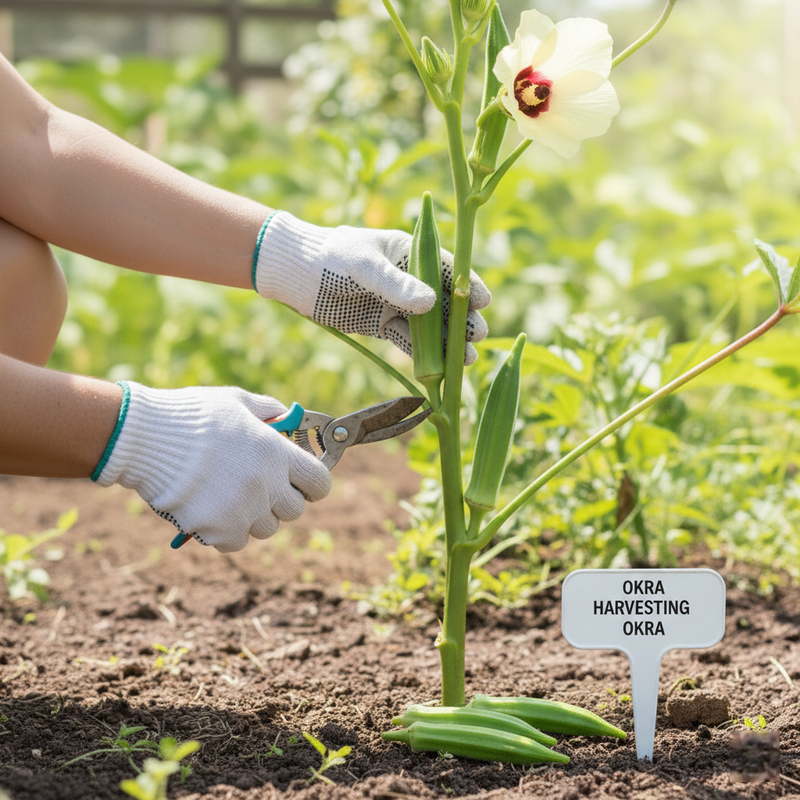
When to Harvest
- Harvest pods when they are 7–10 cm (3–4 inches) long.
- Harvest every 2–3 days for best quality.
- Older pods become tough and reduce future production.
How to Harvest
- Use scissors or twist gently.
- Wear gloves if your skin is sensitive (okra can be slightly itchy).
Okra Growing FAQ
Can I grow okra in a pot?
Yes. Use a 12–16 inch pot, full sun, and well-draining soil. One plant per pot gives best results.
Why is my okra plant tall but no pods?
This usually happens due to low sunlight, excess nitrogen, or irregular harvesting. Ensure full sun and balanced feeding.
How often should I harvest okra?
Harvest every 2–3 days when pods are 7–10 cm long. Frequent harvesting keeps pods tender and increases yield.